| Author |
Topic: Another 1/35 PT-109 Build-Almost from the Box! |
|
Frank Andruss

TOP BOSS

|


 Posted on: Jun 2, 2013 - 4:44pm Posted on: Jun 2, 2013 - 4:44pm
|
Phillip, very nice work, I may have to have you build me one for my Exhibit, your use of colors and brushing to add wear in certain spots is really good. I know we are all looking forward to seeing the finished product, which you can ship to me anytime, oops sorry Dave.
|
Total Posts: 3964 | Joined:
Feb 9, 2007 - 11:41am | IP
Logged
|
|
TheBridge
TOP BOSS

|
Posted on: Jun 2, 2013 - 7:26pm
|
I saw two Italeri PTs last weekend (one by Pat Hutchens and the other by Roy Forbes that is still in process) at the Mount Airy get together and I must say just how impressively detailed these models are. They are flat out georgeous.
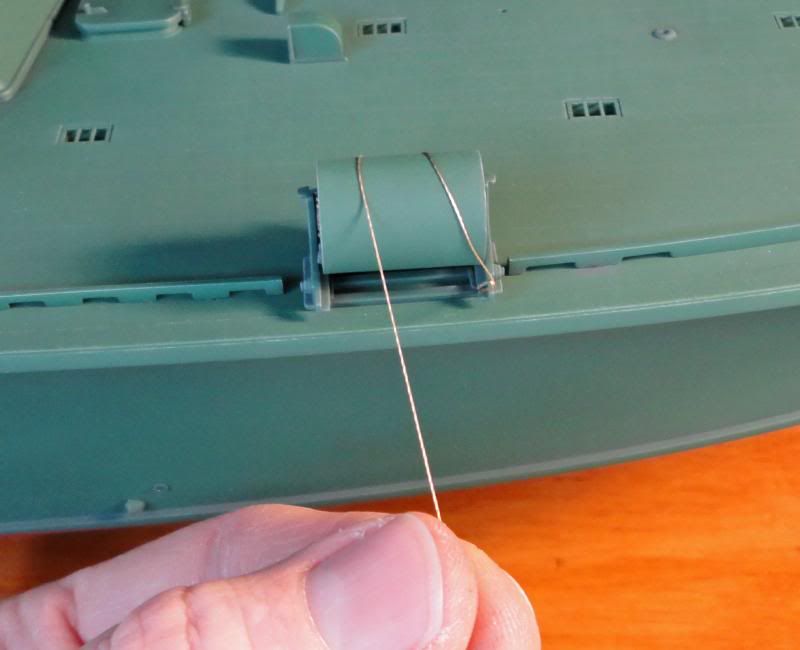
My only comment is with the exhaust system (that is the flapper valves and the rods that drive them). The horizontal and vertical rods are far too thick on the model. See this photo below (which is the 109) and see if you can see the rods. Yes but far less than on the Italeri model. Again I love theie model but a little rework could make this even more accurate.
 . .
and this one from the 157 model...

Look at the details of original ELCO blueprints from the Dick Washichek collection (such as ELCO_Roll_5535-4_72SCAN_00468 .PDF and ELCO_Roll_5535-4_72SCAN_00469 .PDF) which show the horizontal and vertical rods were, in full scale, only 5/16 in diameter. That is 0.3125 which at 1:35 scale is .00893.
In brass and aluminum that is 31 gauge wire.
In music that is 0 gauge wire.
In steel that is 36 gauge wire.
When I did the 157 model I went to a musical shop and gave them a precise number and they produce a string that was a direct match! Music wire is a SOB to work with but it so very accurate. You may even want to get wire that is a hair smaller to allow for the paint build up during painting.
I think the vertical rod actuator levers could use some work as well as the flapper vales themselves but that is another story for another day.
Bridge
|
Total Posts: 318 | Joined:
Nov 22, 2009 - 3:04pm | IP
Logged
|
|
Phillip Gore

New Member
|
Posted on: Jun 3, 2013 - 10:23am
|
Frank-Thanks for the compliment. It is greatly appreciated.
TheBridge-Thanks for the suggestion on the exhaust system, and for posting the model photo. It shows excellent super-detailing work. I am trying to stay close to "box stock" with my build, so I am content with the kit parts even though they do not look near as nice as what you posted. I am hoping be be finished in the next 2-3 weeks, and plan on posting a large number of completed photos.
Thanks
Phillip
|
Total Posts: | Joined:
Unregistered | IP
Logged
|
|
TheBridge
TOP BOSS
|
Posted on: Jun 3, 2013 - 11:09am
|
Phillip - that's cool. It is great looking model you got going there!
|
Total Posts: 318 | Joined:
Nov 22, 2009 - 3:04pm | IP
Logged
|
|
Phillip Gore
New Member
|
Posted on: Jun 11, 2013 - 5:06pm
|
Fellow Modelers,
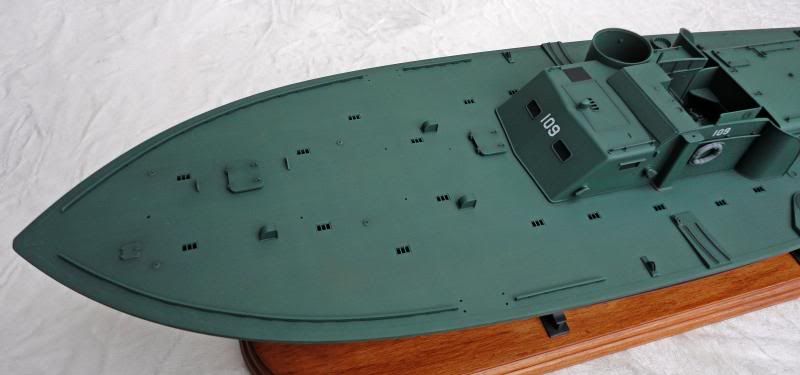
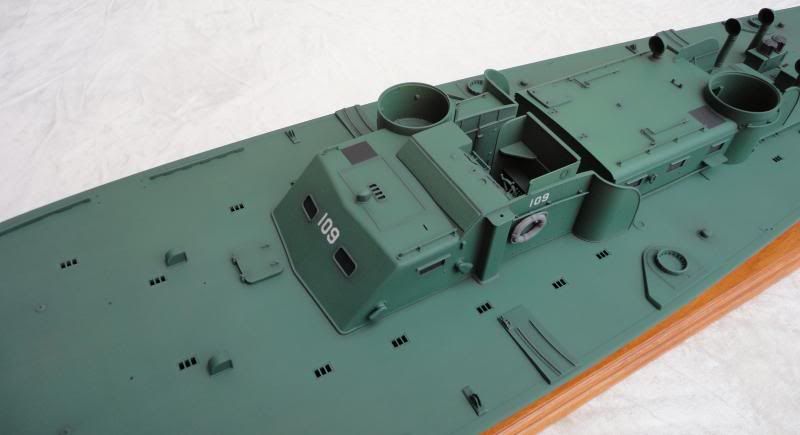
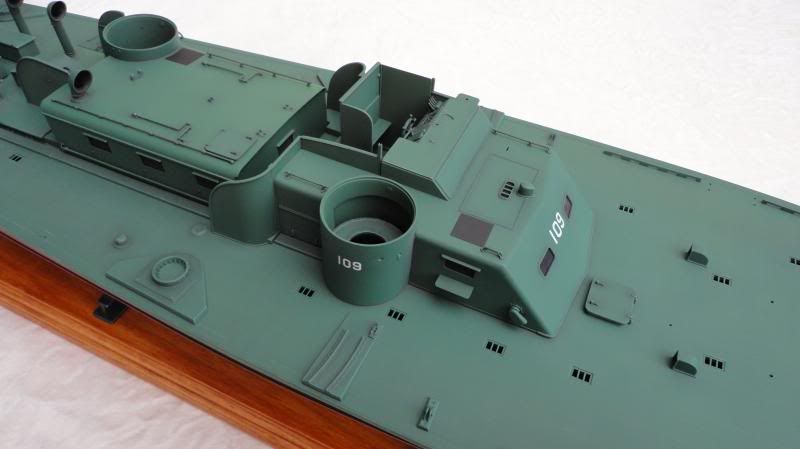
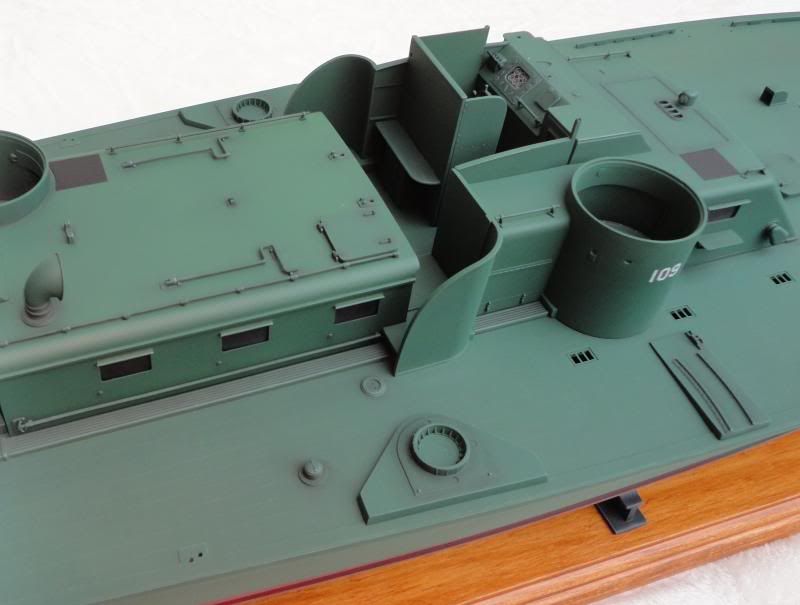
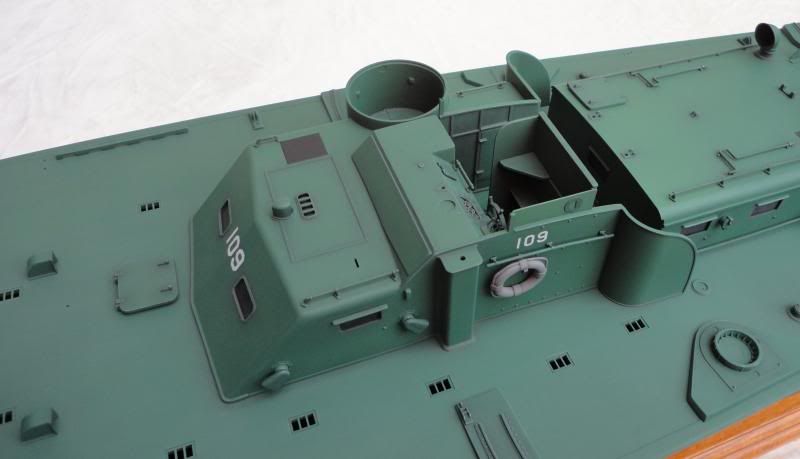
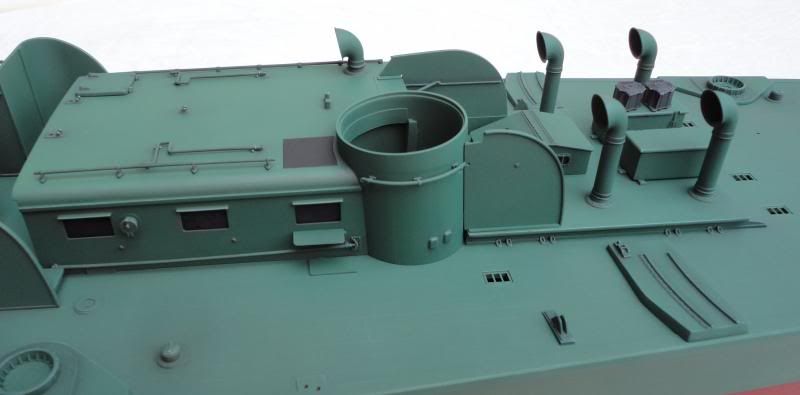
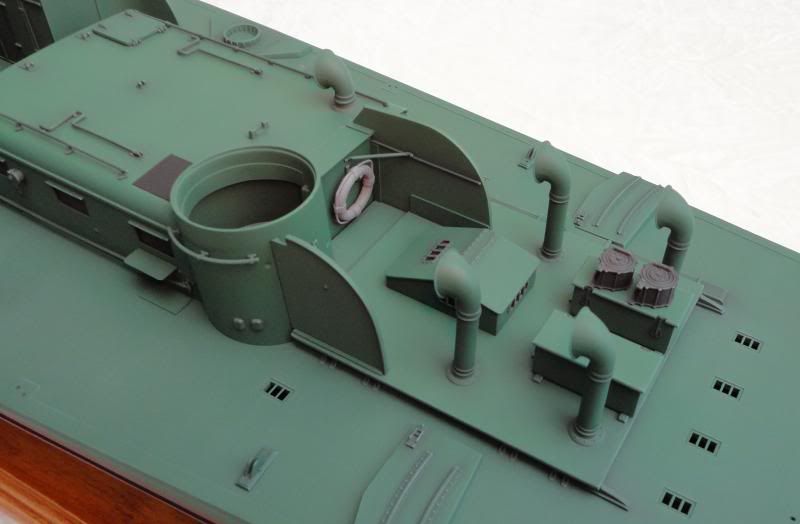
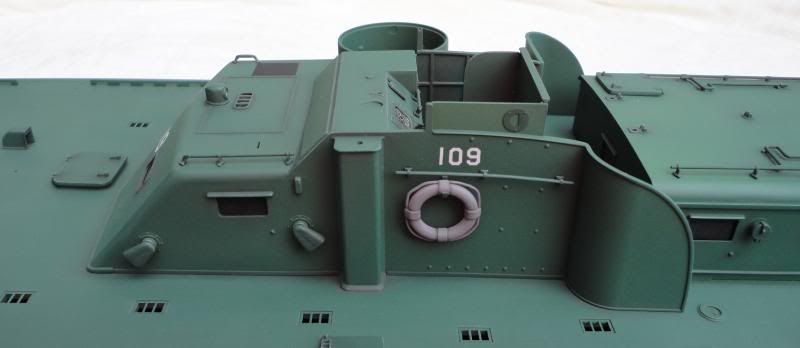
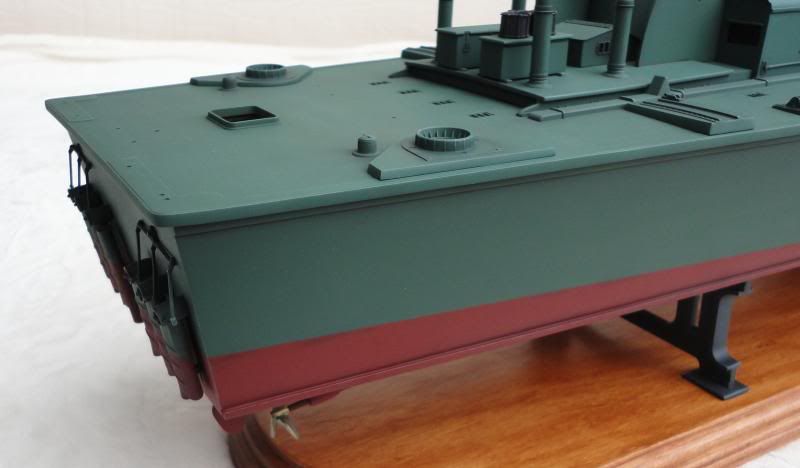
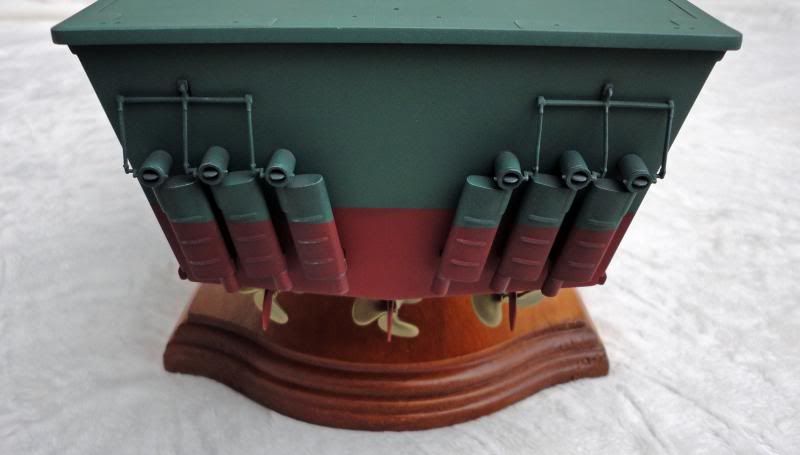
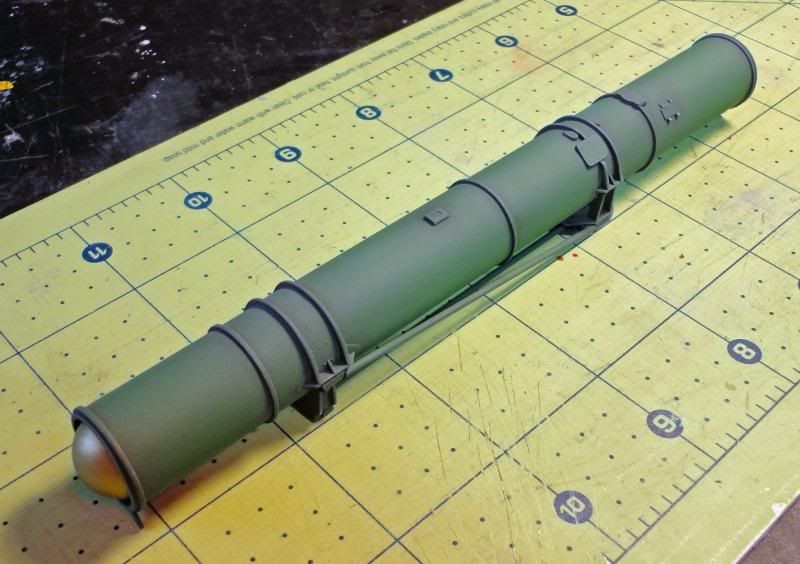
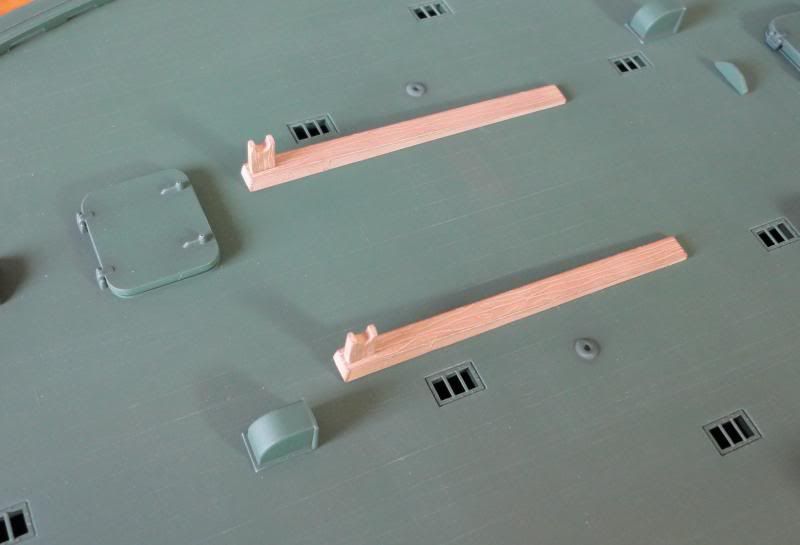
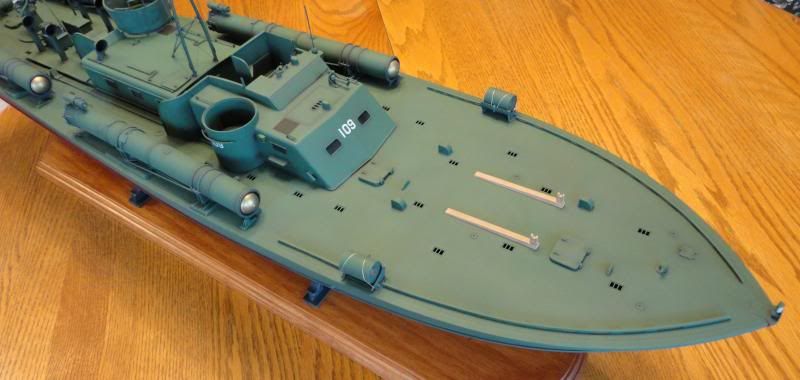
1st through 11th Image: The following photos show some progress (about 25-30 more pieces added), but I post them mainly because they were taken under what I consider near perfect lighting conditions. This is outside on a sunny day with lots of white cloud cover. The shots are taken when a cloud blocks the sun and acts a filter-not really changing the actual color of the subject, but not casting any hard shadows either. Enjoy the photos.

Until next time...
Phillip
|
Total Posts: | Joined:
Unregistered | IP
Logged
|
|
David Waples
TOP BOSS

|
Posted on: Jun 12, 2013 - 9:56pm
|
Thanks for sharing Phillip. She's looking good.
Dave
David Waples |
Total Posts: 1679 | Joined:
Jan 2, 2007 - 9:55pm | IP
Logged
|
|
Stuart Hurley

MASTER

|
Posted on: Jun 12, 2013 - 10:25pm
|
Phillip,
Nice shading technique. Looking very nice.
Best Regards,
Stu.
|
Total Posts: 255 | Joined:
Mar 19, 2013 - 3:32am | IP
Logged
|
|
Phillip Gore
New Member
|
Posted on: Jun 13, 2013 - 1:55pm
|
David Waples-Thanks for the compliment. I am looking forward to the next progress update on you PT Boat.
Stuart Hurley-Thanks for the compliment. By the way, the correction/modification work you have been doing to your PT-109 is very impressive and entertaing, and I hae been following it closely.
Phillip
|
Total Posts: | Joined:
Unregistered | IP
Logged
|
|
Stuart Hurley
MASTER
|
Posted on: Jun 13, 2013 - 11:09pm
|
Thank you Phillip.
Best Regards,
Stu.
|
Total Posts: 255 | Joined:
Mar 19, 2013 - 3:32am | IP
Logged
|
|
Phillip Gore
New Member
|
Posted on: Jun 19, 2013 - 8:21pm
|
Fellow Modelers,
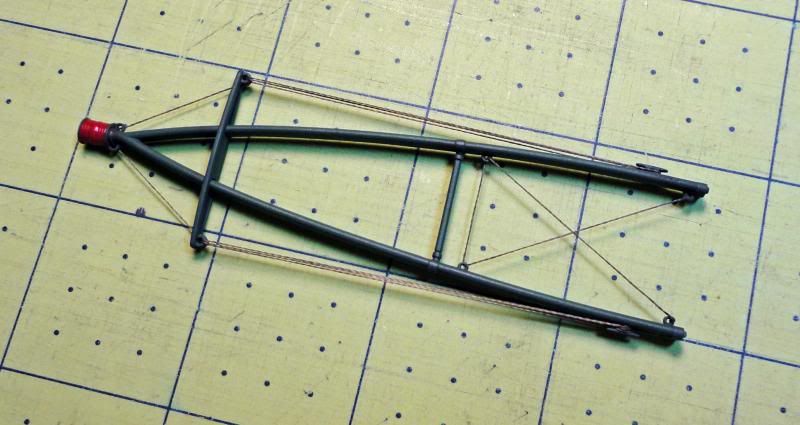
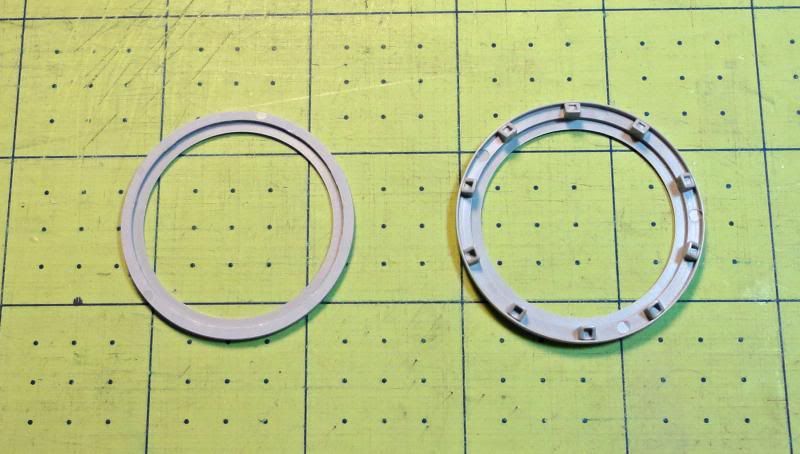
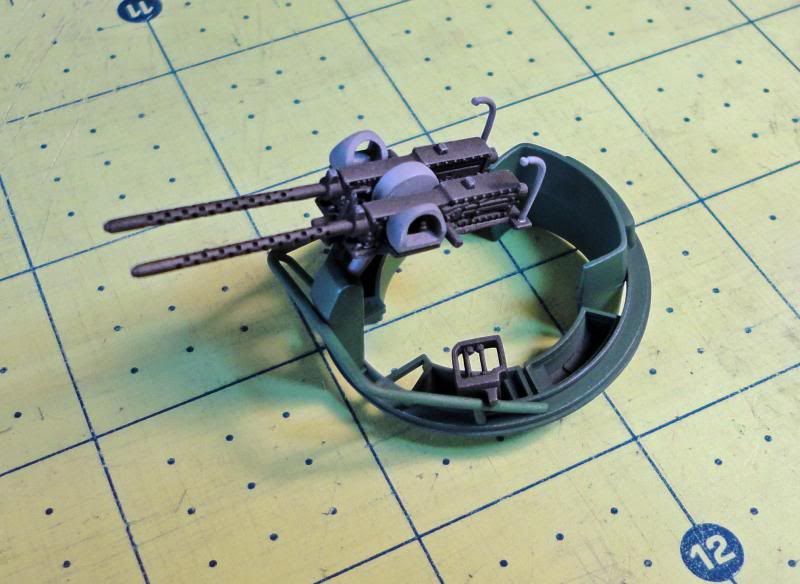
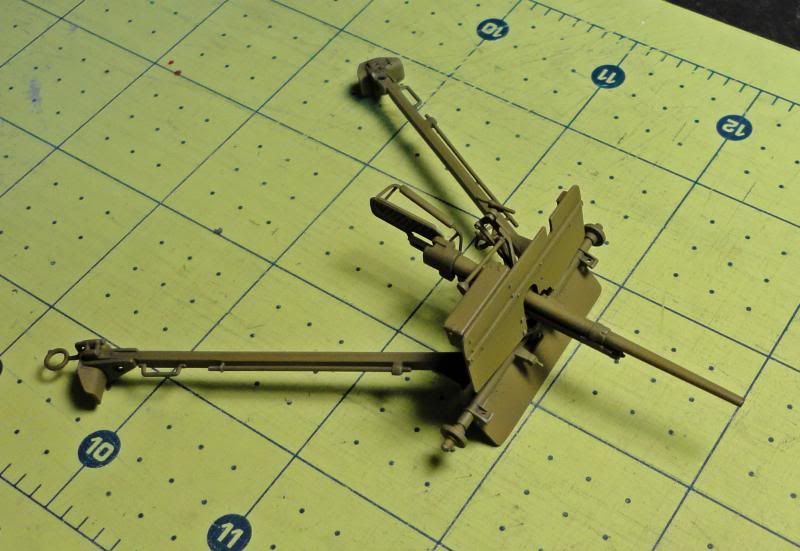
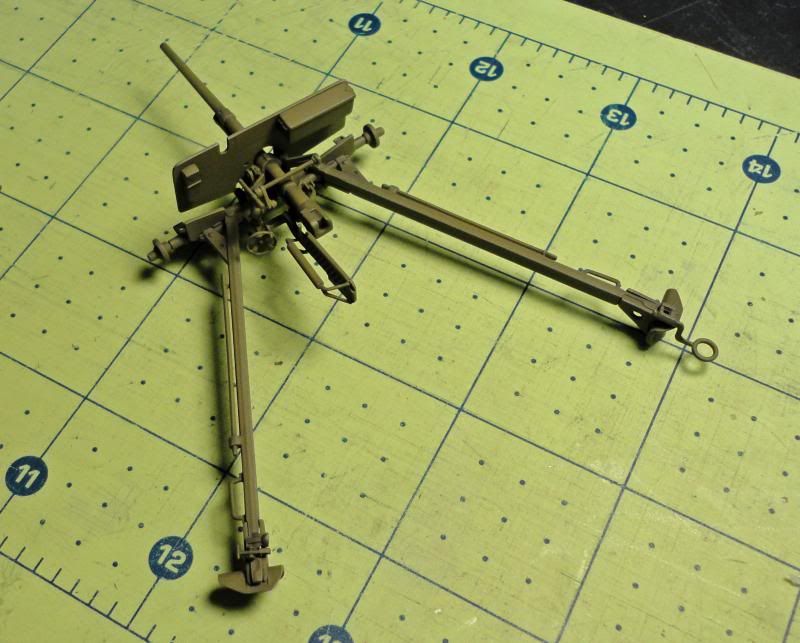
1st through 10th Image: These are probably the last construction photos before the model is finished. If you look close at the .50 cal. machine gun assembly you can see the guns were placed upside down. I only noticed it after both assemblies were glued to the boat. It�s not that big of a deal-just irritating. Also, note the base ring for the rear turret had to be modified so it would fit inside the canvas spray shield.

Until next time...
Phillip
|
Total Posts: | Joined:
Unregistered | IP
Logged
|
|